
 English
 Italiano
 Español
 Français
%20(1).webp?v=mumlkru4)
%20(1).webp?v=mumllvxu)
.webp?v=mumligta)
.webp?v=mumlj2nb)
.webp?v=mumljr5n)

.webp?v=mth1gwjb)














Bonding day takes a morning. The shell itself spends several days on a laboratory bench before that, being built up by hand from powders, water and heat. Most people never see that part, which is a pity, because it explains almost everything about porcelain veneers: why they look the way they do, why they resist stains, why a small change at the try-in is easy and a big one isn't, and why two clinics using the same material can produce such different smiles.
So this section follows a single porcelain veneer from the first photograph to the final glaze, and then on into the years after it's bonded.
It starts with photographs, not a drill
Before anyone thinks about ceramic, the technician needs to understand your teeth as they are. That means photographs, and a lot of them. Shade tabs are held beside your teeth and photographed in daylight, so the lab can compare them directly. Many labs also use photographs taken through a polarising filter, which cuts out surface glare and shows the colour inside the tooth much more clearly.
Your natural teeth are never one colour. They're usually warmer near the gum, more translucent at the edge, and sometimes have faint white flecks or a slightly bluish tint along the biting edge. A good shade record captures all of that. "A1" or "B1" on a form tells a technician very little on its own.
Once the teeth have been prepared, one more shade is taken, of the prepared tooth itself. Porcelain is thin, and some of that underlying colour will show through. If one prepared tooth is darker than the others, the technician needs to know before building anything, so the layers on that shell can be adjusted to compensate.
A model of your mouth, and a base to build on
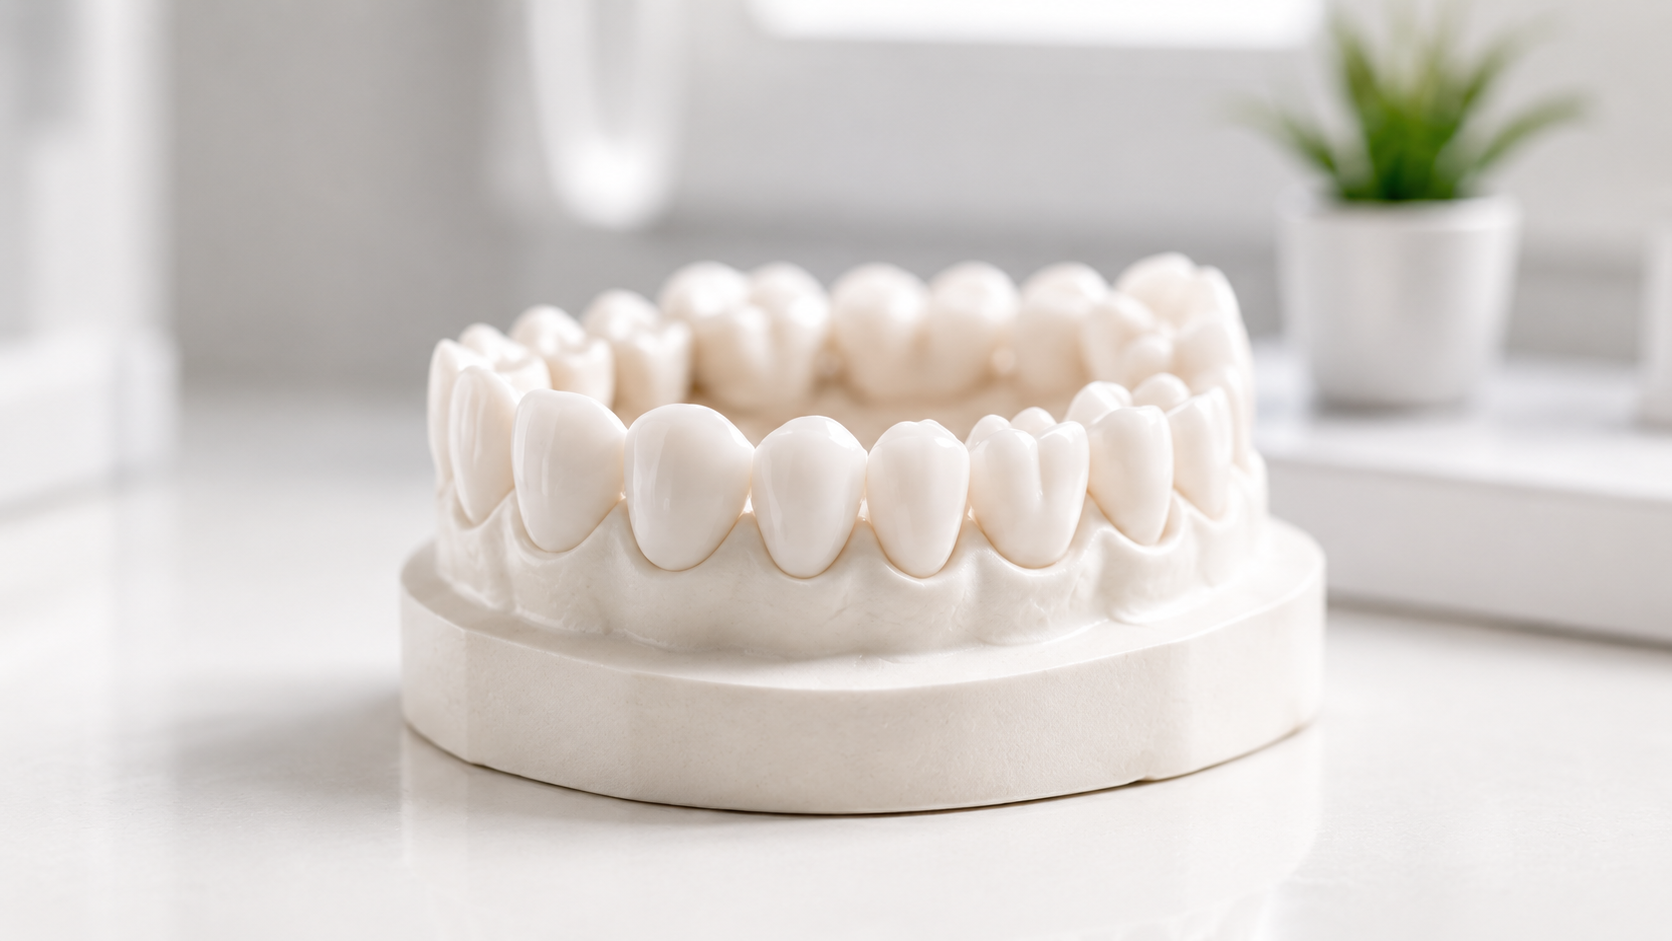
From the scan or impression, the lab produces a model of your prepared teeth. For hand-layered feldspathic veneers, the porcelain is then built on a special heat-resistant copy of each tooth, or on a very thin metal foil pressed against the model, so the shell can go in and out of the furnace without distorting.
Everything that follows happens within a very small space. With 0.3 to 0.7 mm to work in, as the page above describes, there's no room for thick layers or second thoughts. That's one reason conservative preparation and skilled layering go together. The less tooth is removed, the more precise the technician has to be.
Building the colour in thin coats
Porcelain for veneers comes as fine powders in different shades and translucencies. The technician mixes each with a liquid into a paste and applies it with a small brush, one zone at a time.
The deeper layers, sometimes called dentine porcelain, carry most of the colour. On top of those go more translucent enamel layers, and right at the edge, clearer porcelains that let light through the way a natural biting edge does. Between them, a technician can add small details if your own teeth have them: the faint vertical ridges often seen near the edge of a front tooth, a thin bright line along the edge, or a slightly milky patch. Left out, a veneer can look too perfect. Put in carefully, those details are what make people stop noticing it's a veneer at all.
None of this is visible from a price list, and it's the main difference between porcelain and materials that are milled or pressed from a single block of one shade.
Heat, shrinkage and a lot of patience
Each layer is fired in a furnace. Porcelain shrinks as it fires, so the technician deliberately builds each stage slightly oversize and then checks it, adds a little more, and fires again. A single veneer can go through several firings before its shape and colour are right.
Between firings, the shell is checked against the model and against photographs of your face. Is the edge the right length? Does it line up with the tooth beside it? Is the colour reading warmer or cooler than intended? Small corrections at this stage cost nothing but time.
Surface, texture and glaze
Natural enamel isn't perfectly smooth. Look closely at a front tooth in good light and you'll often see fine horizontal lines and gentle ridges and hollows. Those irregularities catch light in a particular way, and a perfectly flat, polished surface catches it differently. That's one of the details that gives away a poorly made veneer from across a room.
So the technician shapes and textures the surface, then applies a glaze and fires it one last time. The glaze leaves a smooth, glassy outer layer that food, coffee, tea and wine can't soak into. This is the property the page above describes as stain resistance, and it's a direct result of how the shell is finished, not just the material itself.
Why a person, rather than a machine
Porcelain veneers can be made in several ways. Some are pressed or milled from ready-made blocks and then painted on the surface for colour. E.max veneers are a good example, and they have real advantages in strength, which that page explains.
Hand-layered porcelain trades some of that strength for control over how light moves through the tooth. On the front teeth of someone who wants a result nobody can spot, especially next to their own untreated teeth, that control can make a visible difference. It also means the result depends heavily on the person holding the brush. The same powders in different hands can look quite different.
While the lab works: three days in temporaries
The pathway above mentions the temporaries you wear while the porcelain is being made. They're a copy of the mock-up you approved, made in a resin that's much softer than ceramic and held on quite lightly, so they can come off easily later.
That has a few practical consequences. Sticky sweets, crusty bread and anything you'd bite into with your front teeth are best avoided for those few days. The temporaries may feel a little rough or bulky, and they won't have the polish of the final shells. If one comes loose, don't try to glue it back yourself; call the clinic and it can be re-seated quickly. And pay attention to how they feel when you talk and smile, because the porcelain will follow that shape.
When a veneer goes back to the bench
At the try-in, the shells are placed on your teeth with a clear or tinted paste, not yet bonded, and checked by the window in daylight. This is where a veneer might be sent back.
The reasons are usually small. An edge is fractionally too long when you speak. One shell reads slightly greyer than the others. A corner sits a little proud of the neighbouring tooth. For hand-layered porcelain, many of these can be fixed by adding a touch more porcelain, reshaping and re-firing, often the same day when the lab is on site. A shell that's fundamentally the wrong colour is usually rebuilt from scratch rather than patched, which is why the shade record at the start matters so much.
If something bothers you at the try-in, say so. Once the veneers are bonded, reshaping means grinding glazed porcelain, and the glaze is exactly what you don't want to lose.
The first days after bonding
Your tongue will find the new veneers long before anyone else does. For a while it keeps running over the edges and the backs of the teeth, checking. Give it a week or two and it loses interest.
Cold drinks might sting a little for the first few days. That's normal after teeth have been prepared and bonded. What isn't normal is a bite that feels high. If one tooth touches first when you close, or your jaw feels nudged slightly to one side, come back and have it checked before you fly. Porcelain doesn't wear in; it chips.
Living with porcelain for fifteen years
The page above gives 10 to 15 years as the usual lifespan, and plenty of porcelain lasts well beyond that. How long yours last depends partly on a few habits that aren't always explained.
Next time you see a hygienist, tell them about the veneers before they start. It matters more than you'd think. Acidulated fluoride gel, which some practices use routinely, can etch porcelain and leave it dull, and a gritty polishing paste can take the shine off the glaze. Once they know, they'll reach for something gentler. At home you don't need anything special. A soft brush and whatever toothpaste you normally use will do.
Years down the line, trouble tends to start where the porcelain meets your tooth. Gums often recede a little with age, and when they do, that join can peek out and pick up a faint brown line. Daily flossing won't stop the clock, but it slows that down considerably.
A tiny chip is often just smoothed off, or filled with a dab of composite. A larger fracture usually means a new shell. And if one veneer needs replacing years from now, matching it to the others is a real challenge, because the originals were built layer by layer for your teeth at that time.
Keep your shade record
That leads to one practical suggestion. Ask for a copy of your final shade details and the photographs taken during treatment, and keep them somewhere safe. If a single veneer ever needs replacing, whether here or with a dentist near home, the technician will have a far better chance of matching it with the original records than with a photo of your smile taken on your phone.
If you're still deciding between porcelain and something else, the main dental veneers page sets out which material suits which problem.